Click to call
Deep Cleaning the Kitchen, Oven and Refrigerator Like a Professional
There are many reasons to make your kitchen sparkle. Family and friends will congregate in a clean kitchen, but bugs and other pests won’t. And preparing meals becomes easier with clear countertops and a spill-free cooktop and oven. Deep cleaning kitchen appliances, including the refrigerator and oven, is possible with these helpful tips.
Start at the Top and Work Your Way Down
 As with any room, it makes sense to tackle the kitchen from top to bottom so that dust and debris don’t fall onto clean surfaces as you work. After removing any chairs or stools, start by using a duster with an extendible handle to knock down cobwebs and clean tops of cabinets and large appliances.
Next prepare your cleaning solutions. Fill the sink with warm water and ¼ cup of all-purpose cleaner. Fill a bucket with warm water and ¼ cup all-purpose cleaner.
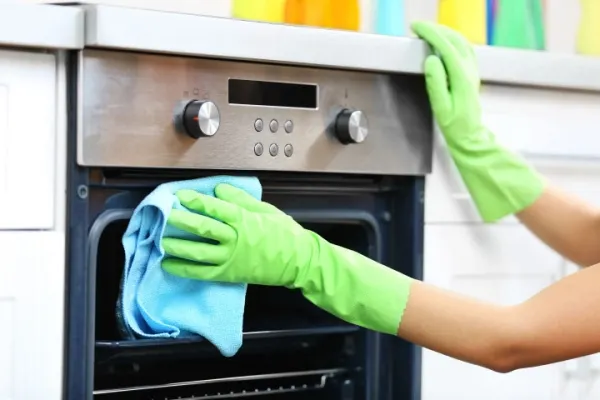
Pull all knobs from the cooktop area and oven—if applicable, as newer models come with push-button controls—and place in the sink to soak. Add any drip pans, too. Spray all-purpose cleaner on any spills and splatters on the appliance and let sit. Move all small appliances to a kitchen or dining room table.
Dampen a terry cloth in the cleaning solution in the sink. Wipe down cabinets, wall areas, cabinets and baseboards, again working from the top down and rinsing the cloth often as you go.
Next tackle your large appliances. Wipe down the exterior of your refrigerator, then head inside, tossing out food past its use-by date and wiping shelves and bins as you go. Move on to the cooktop and oven, which should be easier to clean now thanks to the time you let the cleaning solution sit. Clean the outside and inside of your microwave, pulling the plate to soak in the sink if needed. Wipe down the smaller appliances and return them to their places in the kitchen.
Head to the sink and scrub any knobs and drip pans with a scrubby sponge. Rinse and return to their proper place. Finally, pull the stopper and clean the sink itself. Use a grout brush, or an old toothbrush, remove water buildup and other debris from around the sink and in the drain opening. Add baking soda or orange peels to the drain and turn on the disposal.
Now that your kitchen, with the exception of the floor, is clean, go behind and make it sparkle. Apply glass cleaner or the appropriate product to a cotton cloth, then buff until you can see yourself in the surfaces. Don’t forget your cabinet hardware!
Finally, sweep and use the prepared cleaning solution in the bucket to mop the floor, working backwards to the entrance to the room. (An all-purpose cleaner works well for many floor types; get info for cleaning wood or laminate floors here.) Let the floor dry completely, then return any chairs or stools to their proper place.
Bonus Kitchen Cleaning Tips
- Reorganize the refrigerator as you clean. Put food and drink you use often in the easiest places to reach and place larger items toward the back so they do not block your view of smaller ones. Also use the bins as they are meant to be used. The veggie crisper does actually keep veggies crisp!
- Add a hand-held vacuum to the kitchen or nearby room. Use it throughout the week so you don’t have to deep clean as often.
Now that your kitchen sparkles from top to bottom, invite family and friends in for a home-cooked meal. Just be sure to clean up as you go and after to keep it shining and inviting.
For your home cleaning needs, contact the professionals at Molly Maid. Each maid services team comprises insured, licensed and uniformed housekeepers who are regularly supervised. Click here to request service in your area.
This resource is provided to help DIYers clean their own homes. It is not intended to reflect the steps taken by Molly Maid’s professional cleaning teams. Each franchise is independently owned and operated. Services may vary by location.